


Tools learned in Course
Link tools
Paid Tools
Free Tools
Paid Plugins
Free plugins
Youtube tool/plugin tutorials


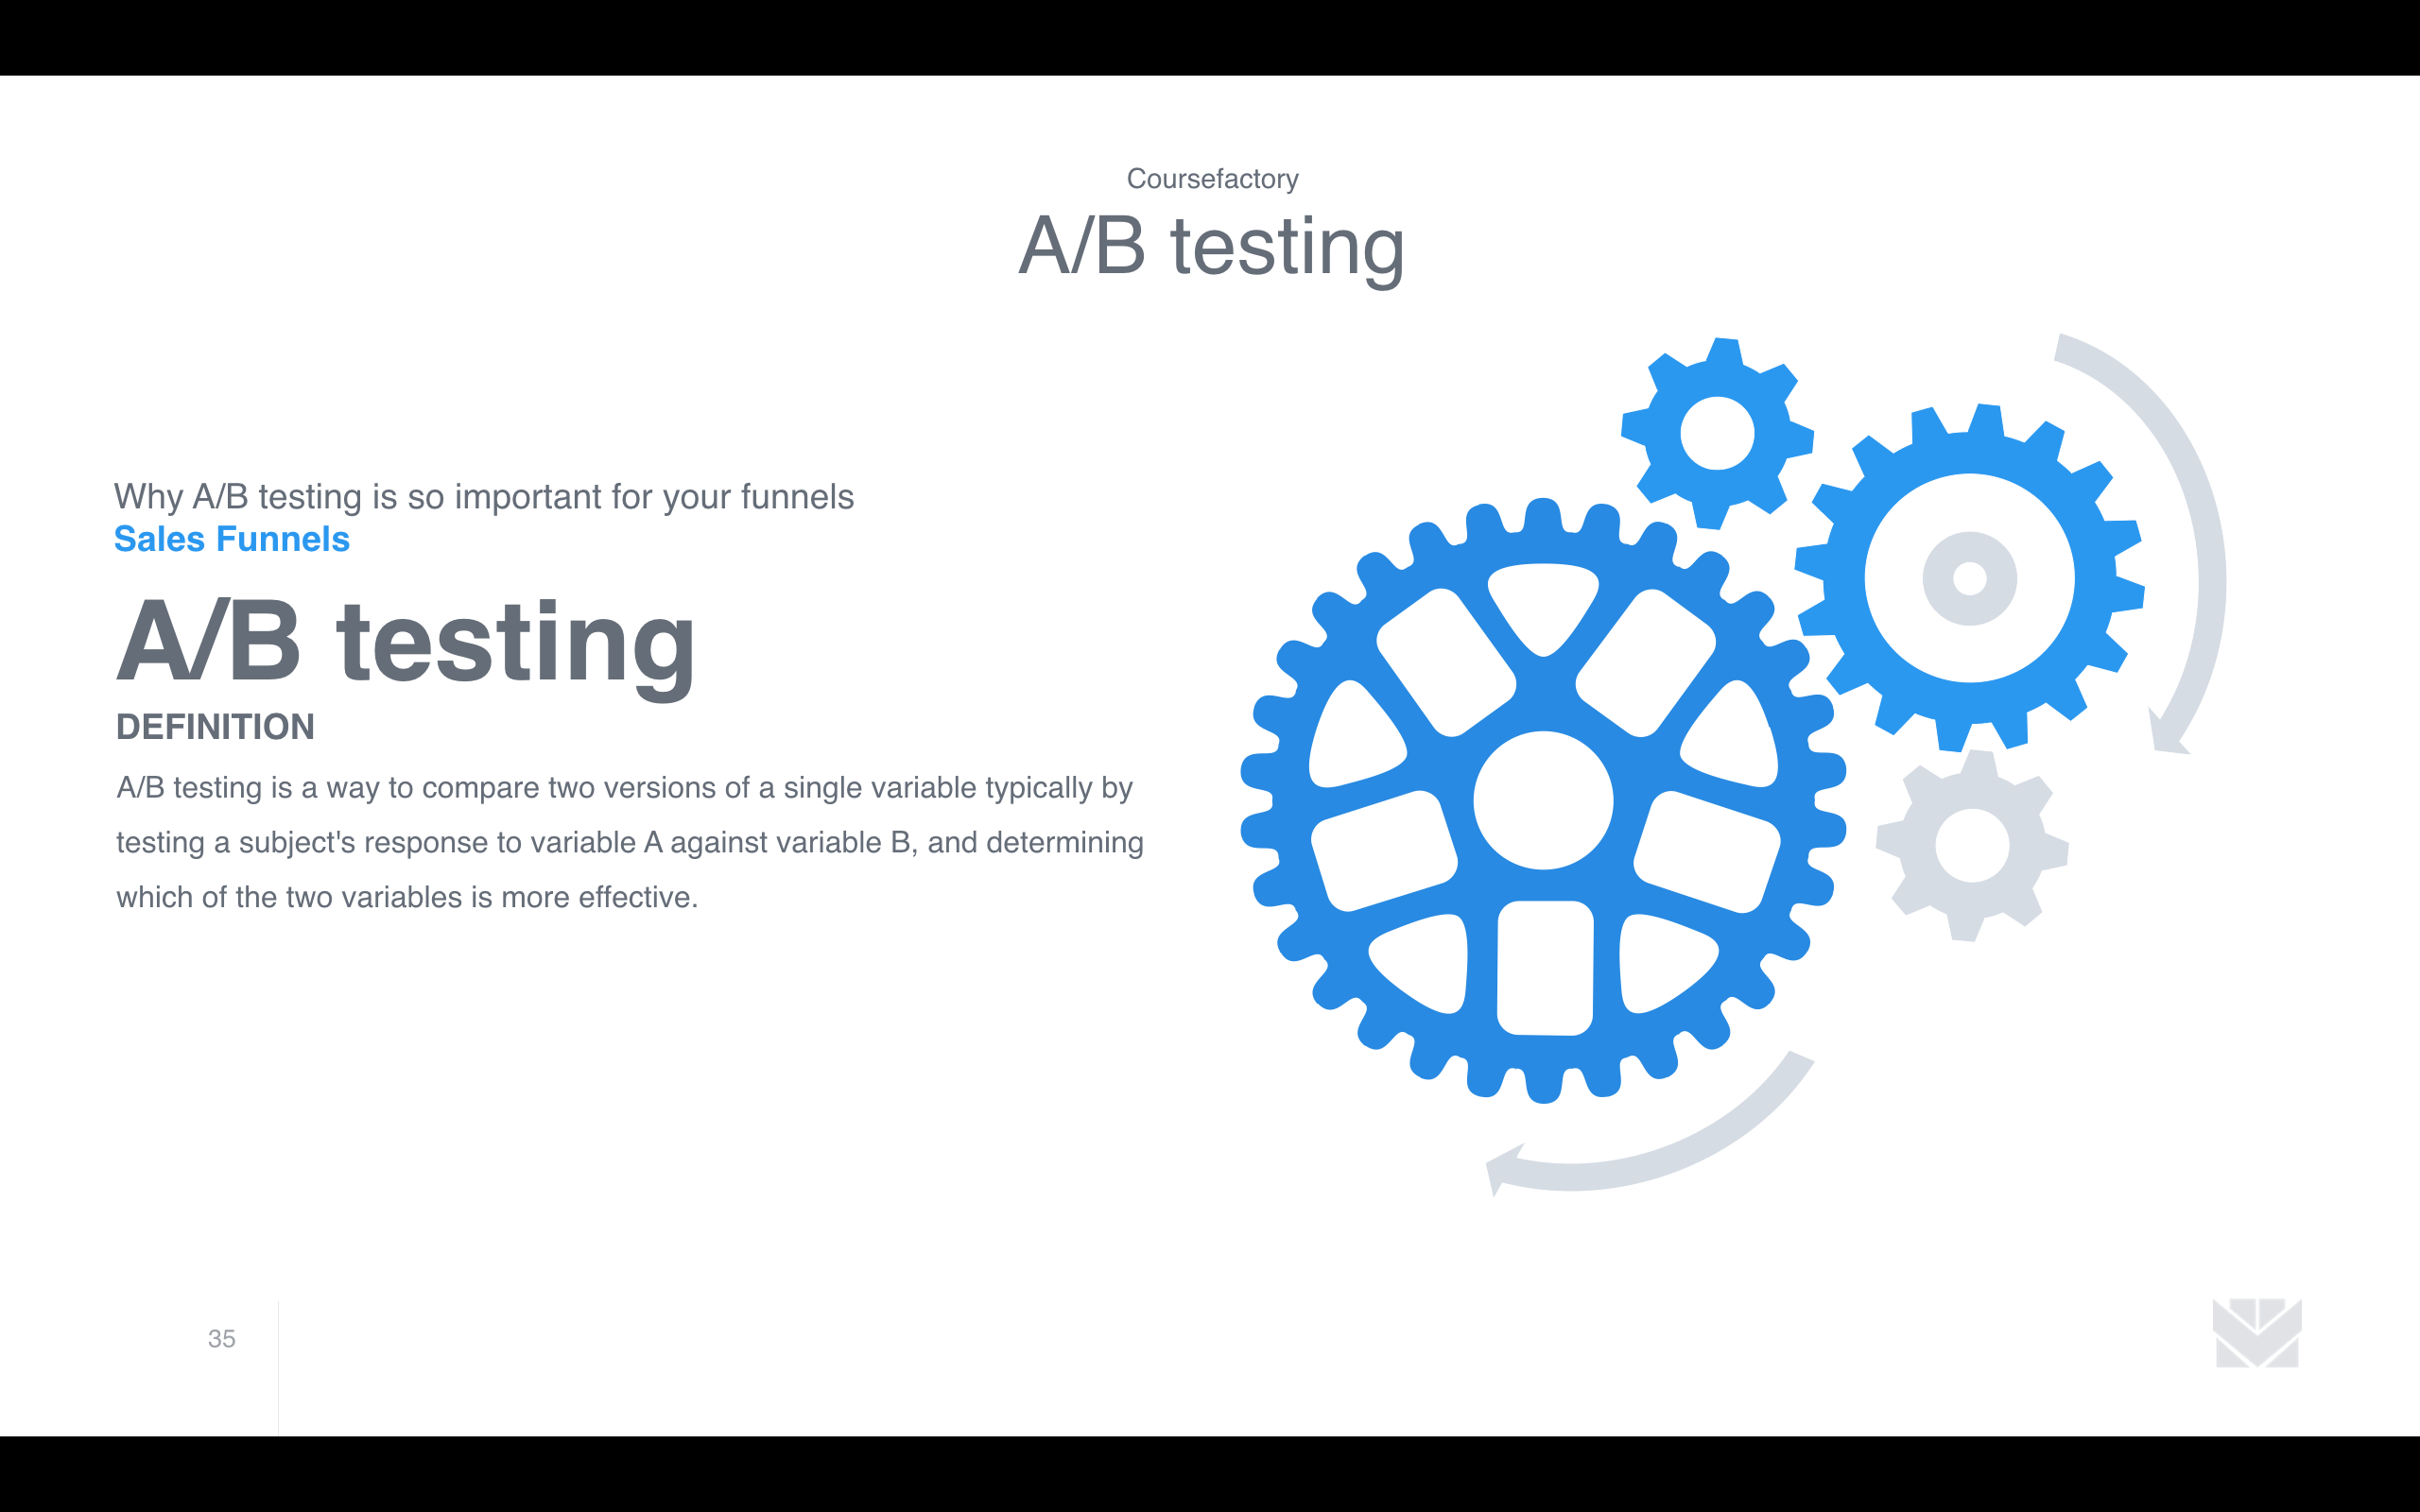
www.your-statistics.com/A-B-testing-1.png
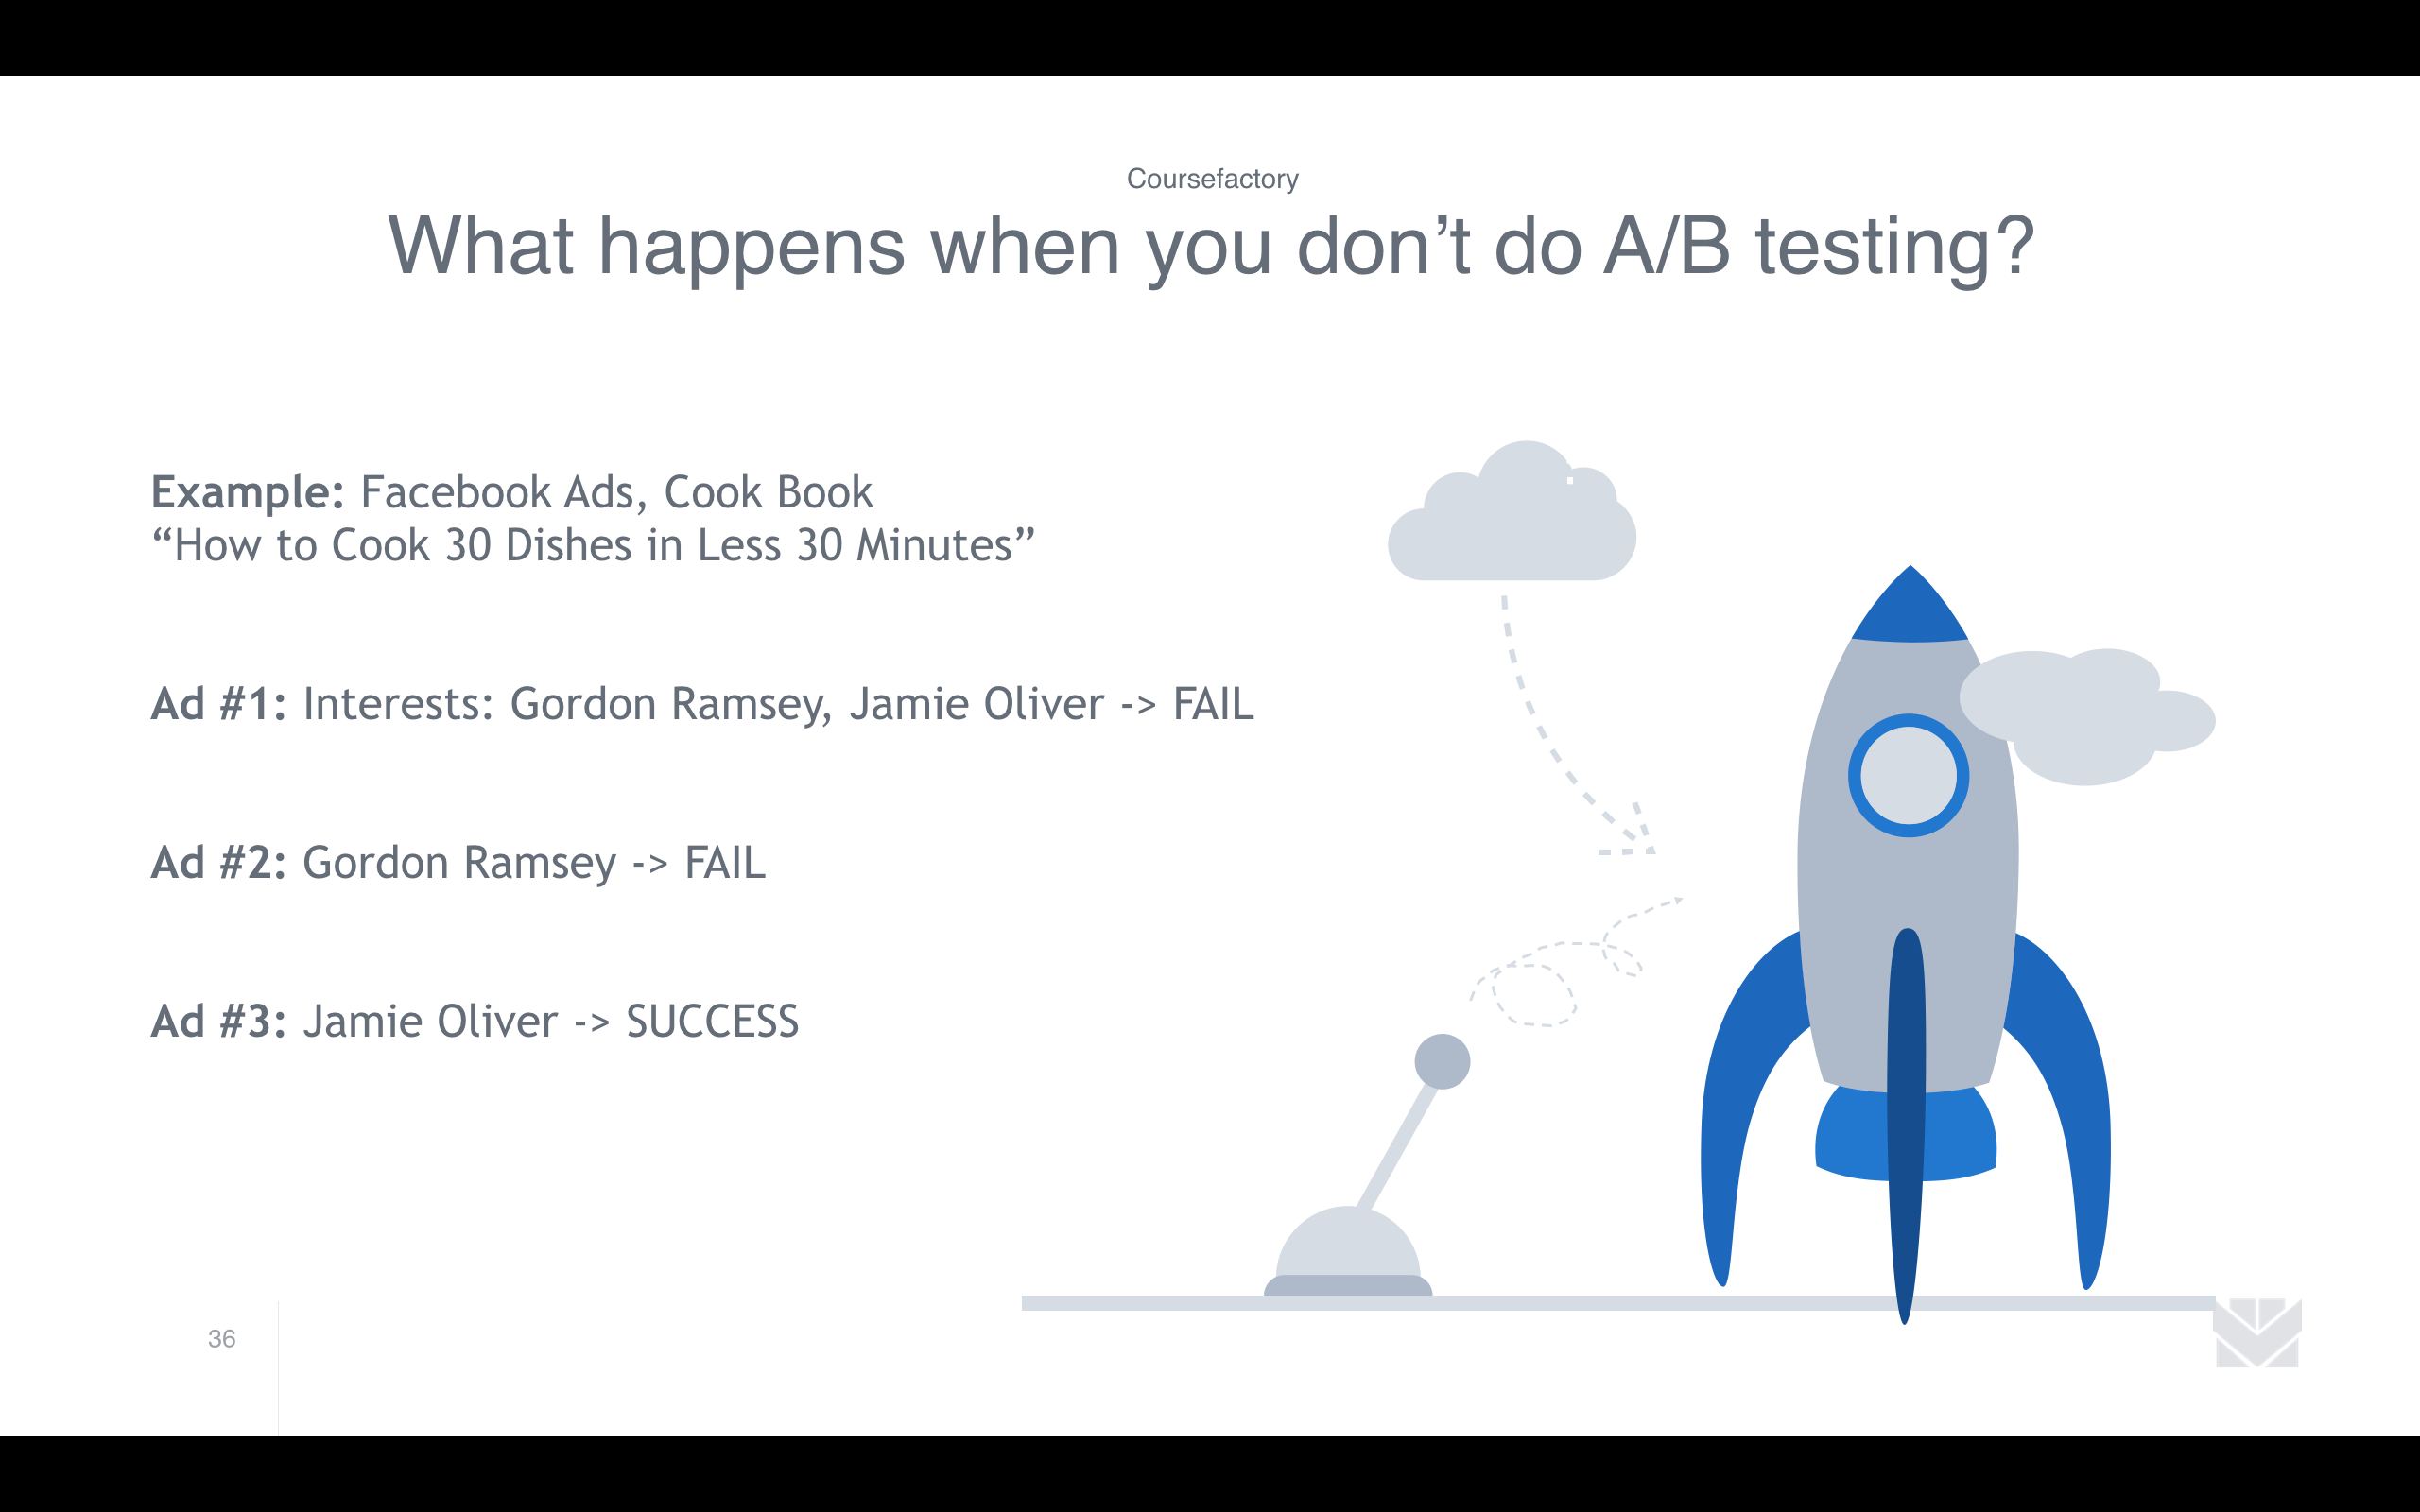
www.your-statistics.com/A-B-testing-2.png
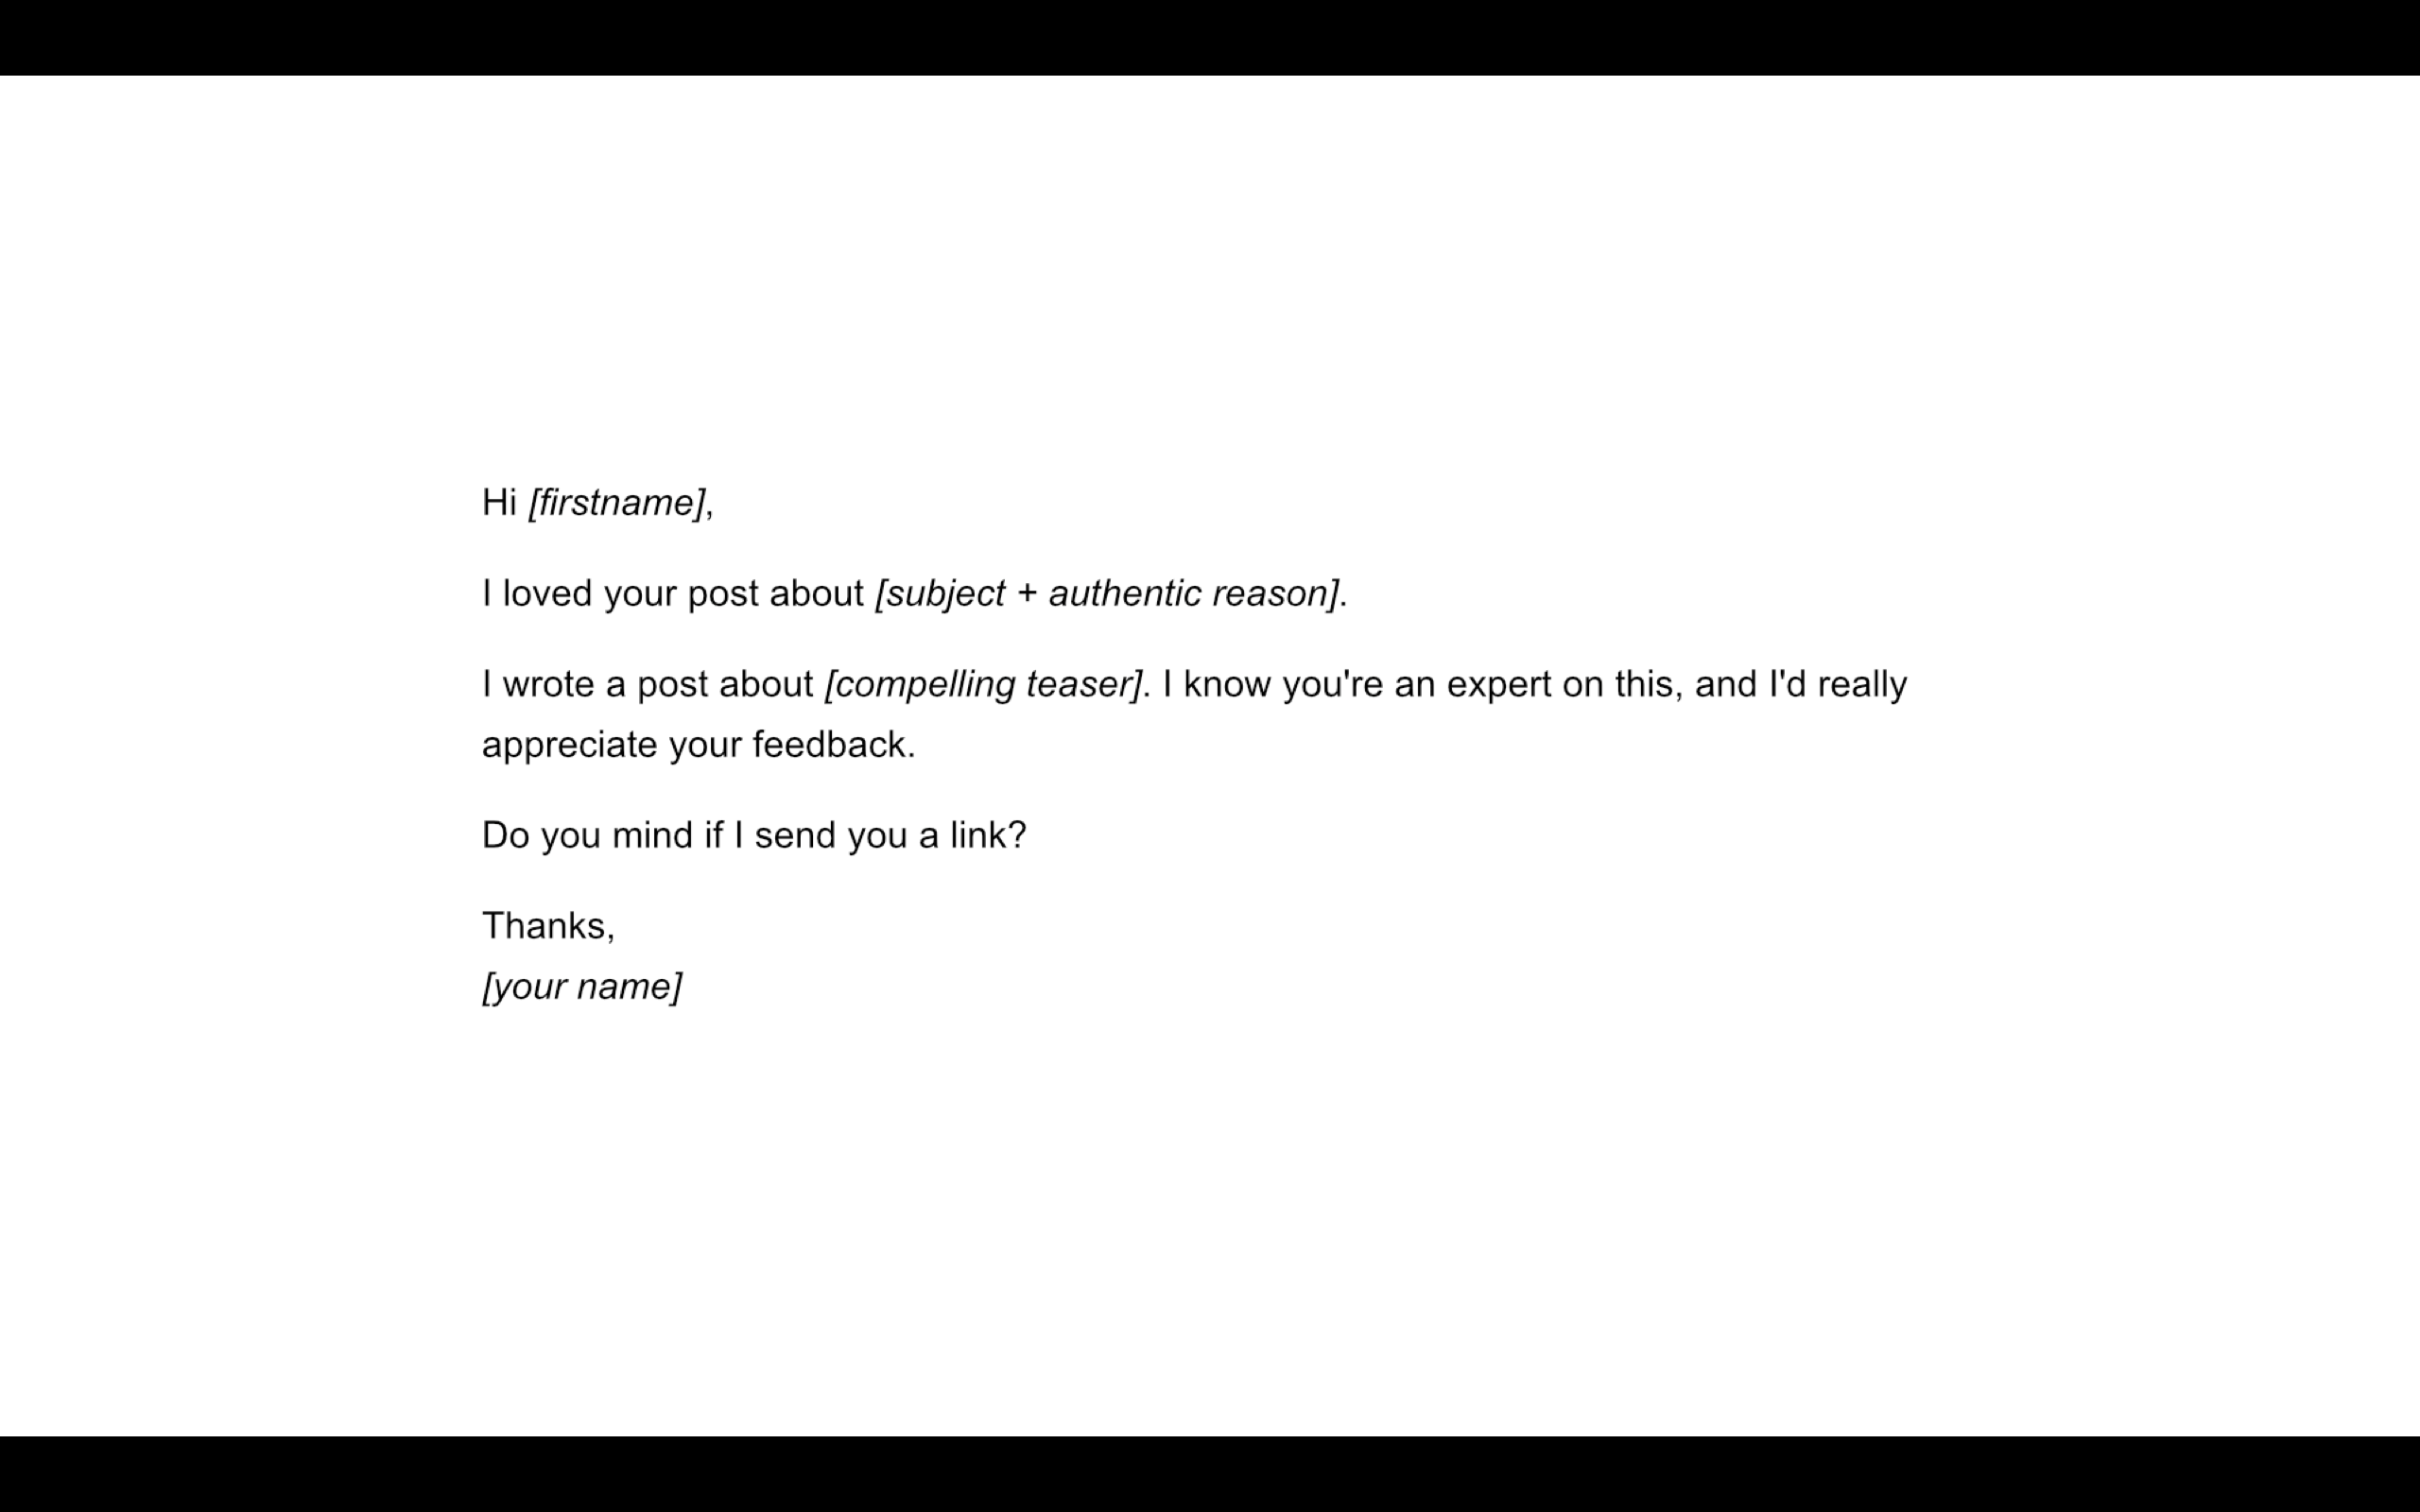
www.your-statistics.com/Email-script-1.png
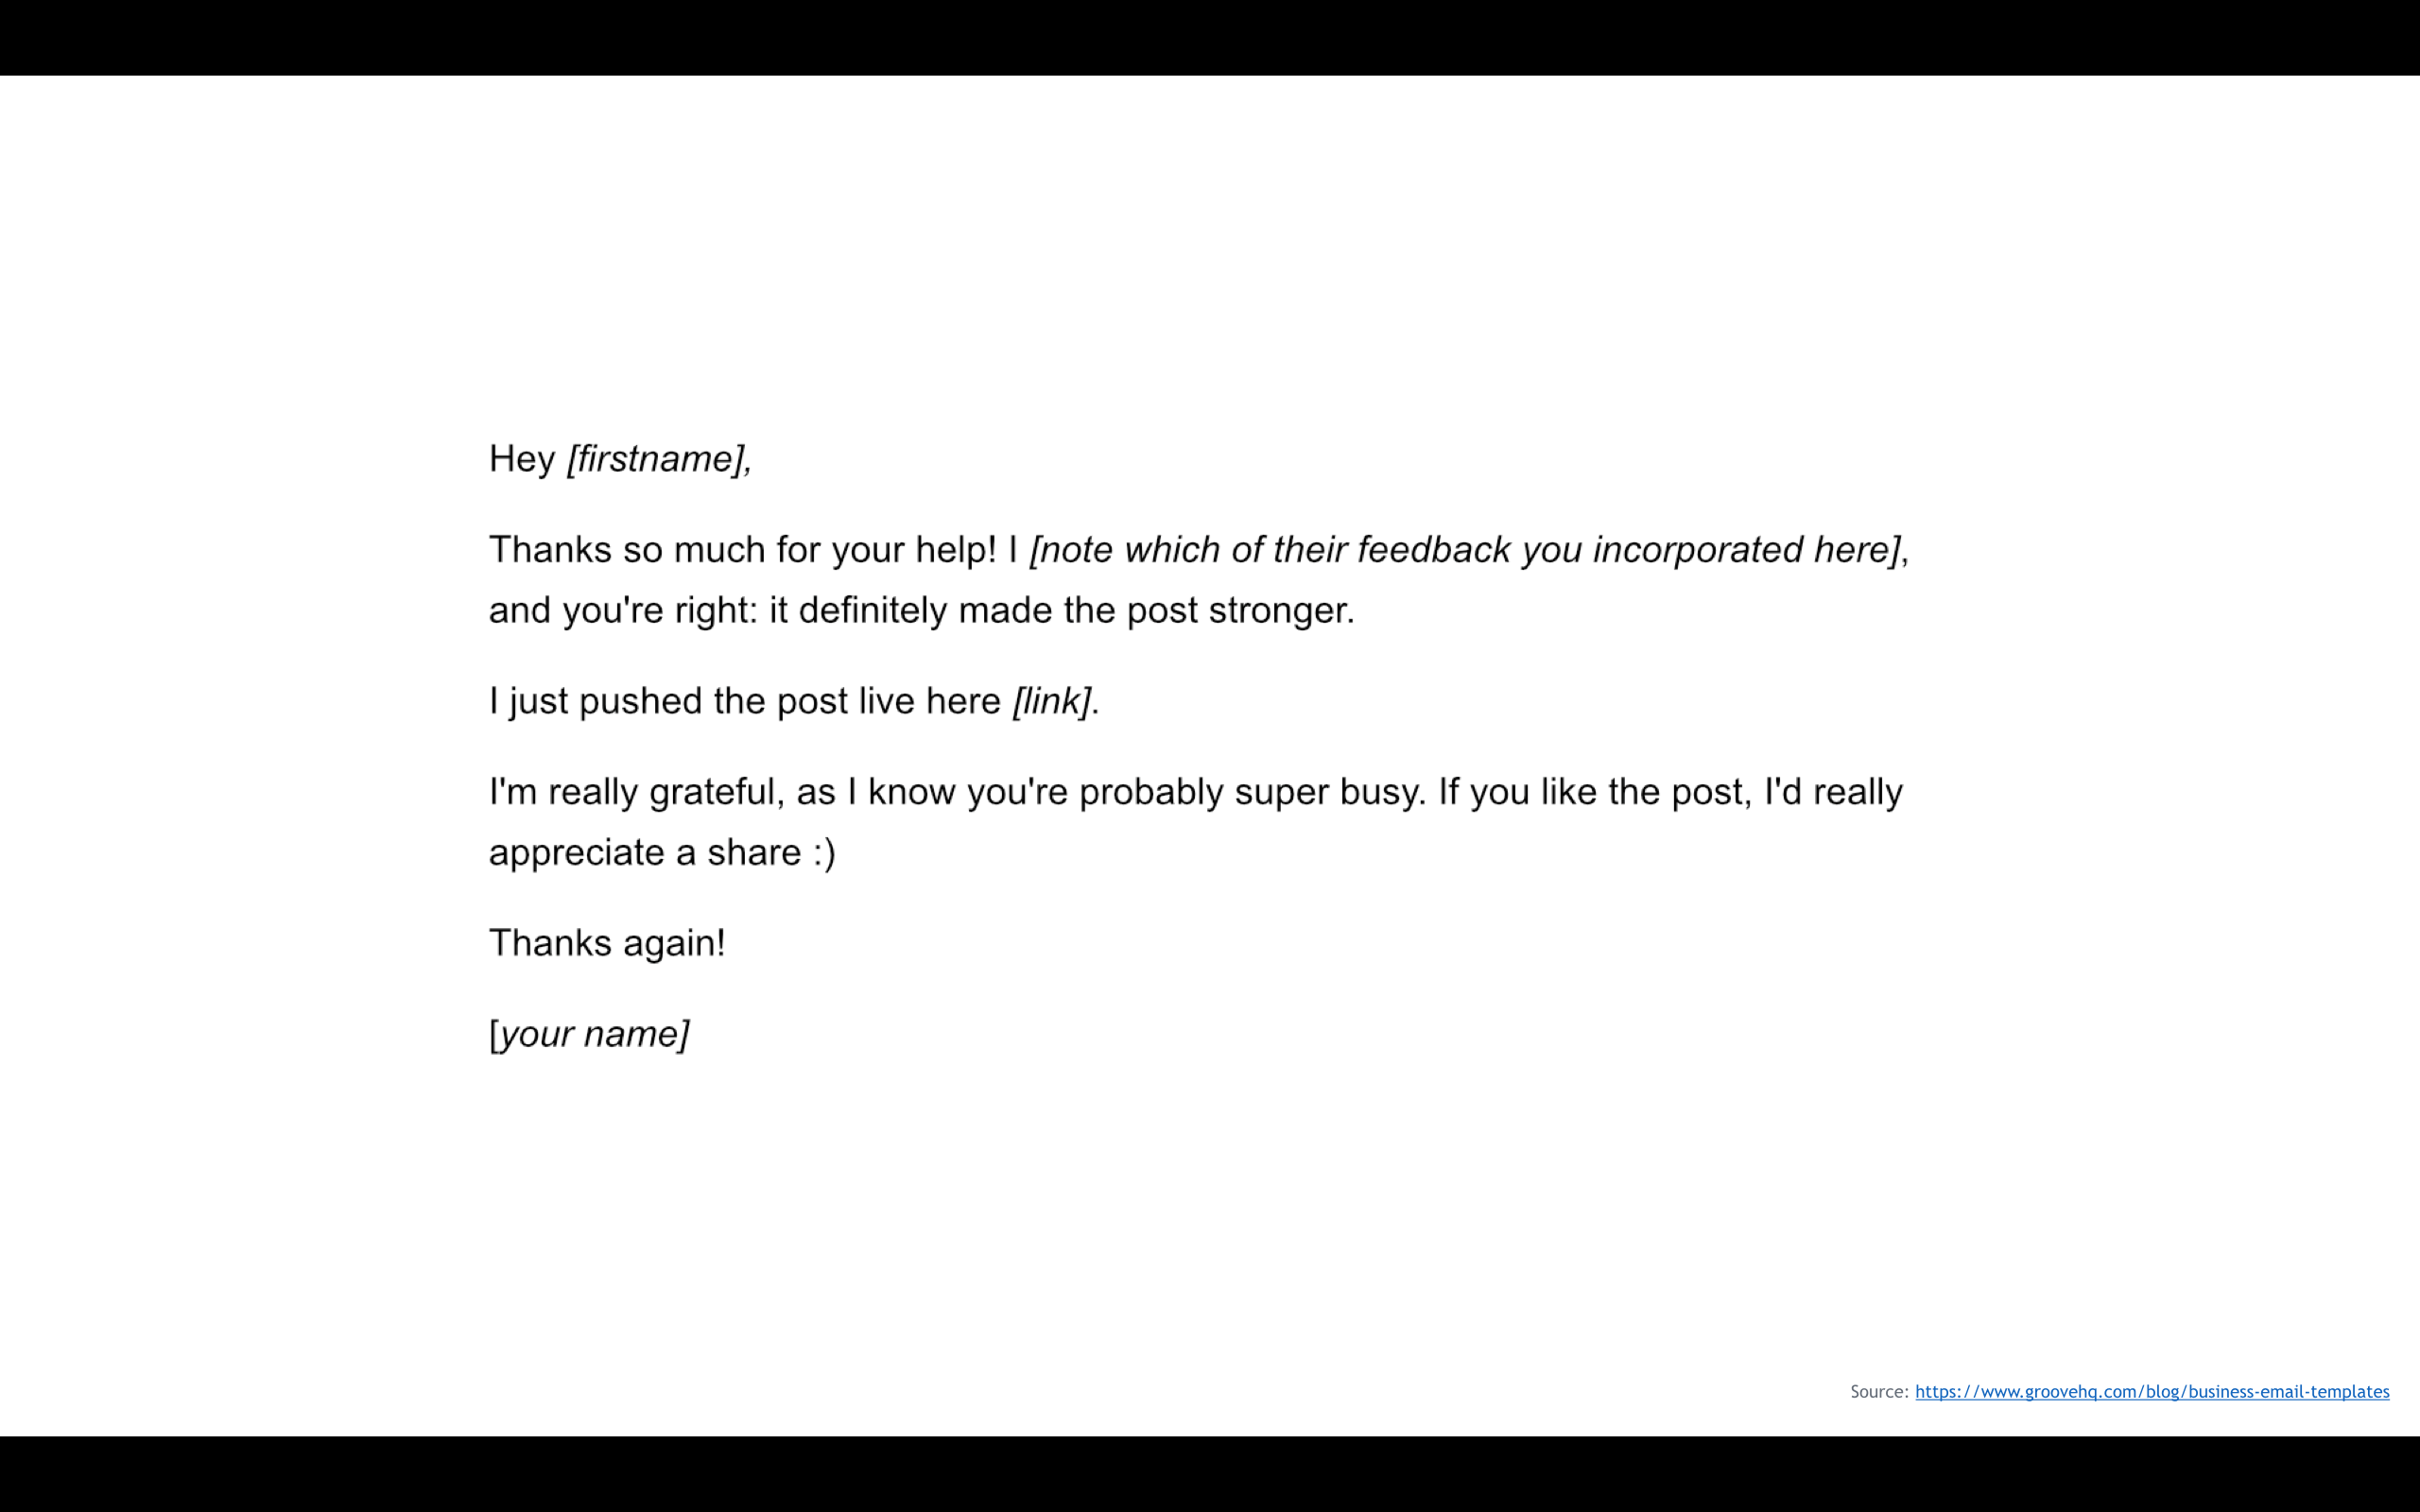
www.your-statistics.com/Email-script-2.png
www.your-statistics.com/Email-script-3.png
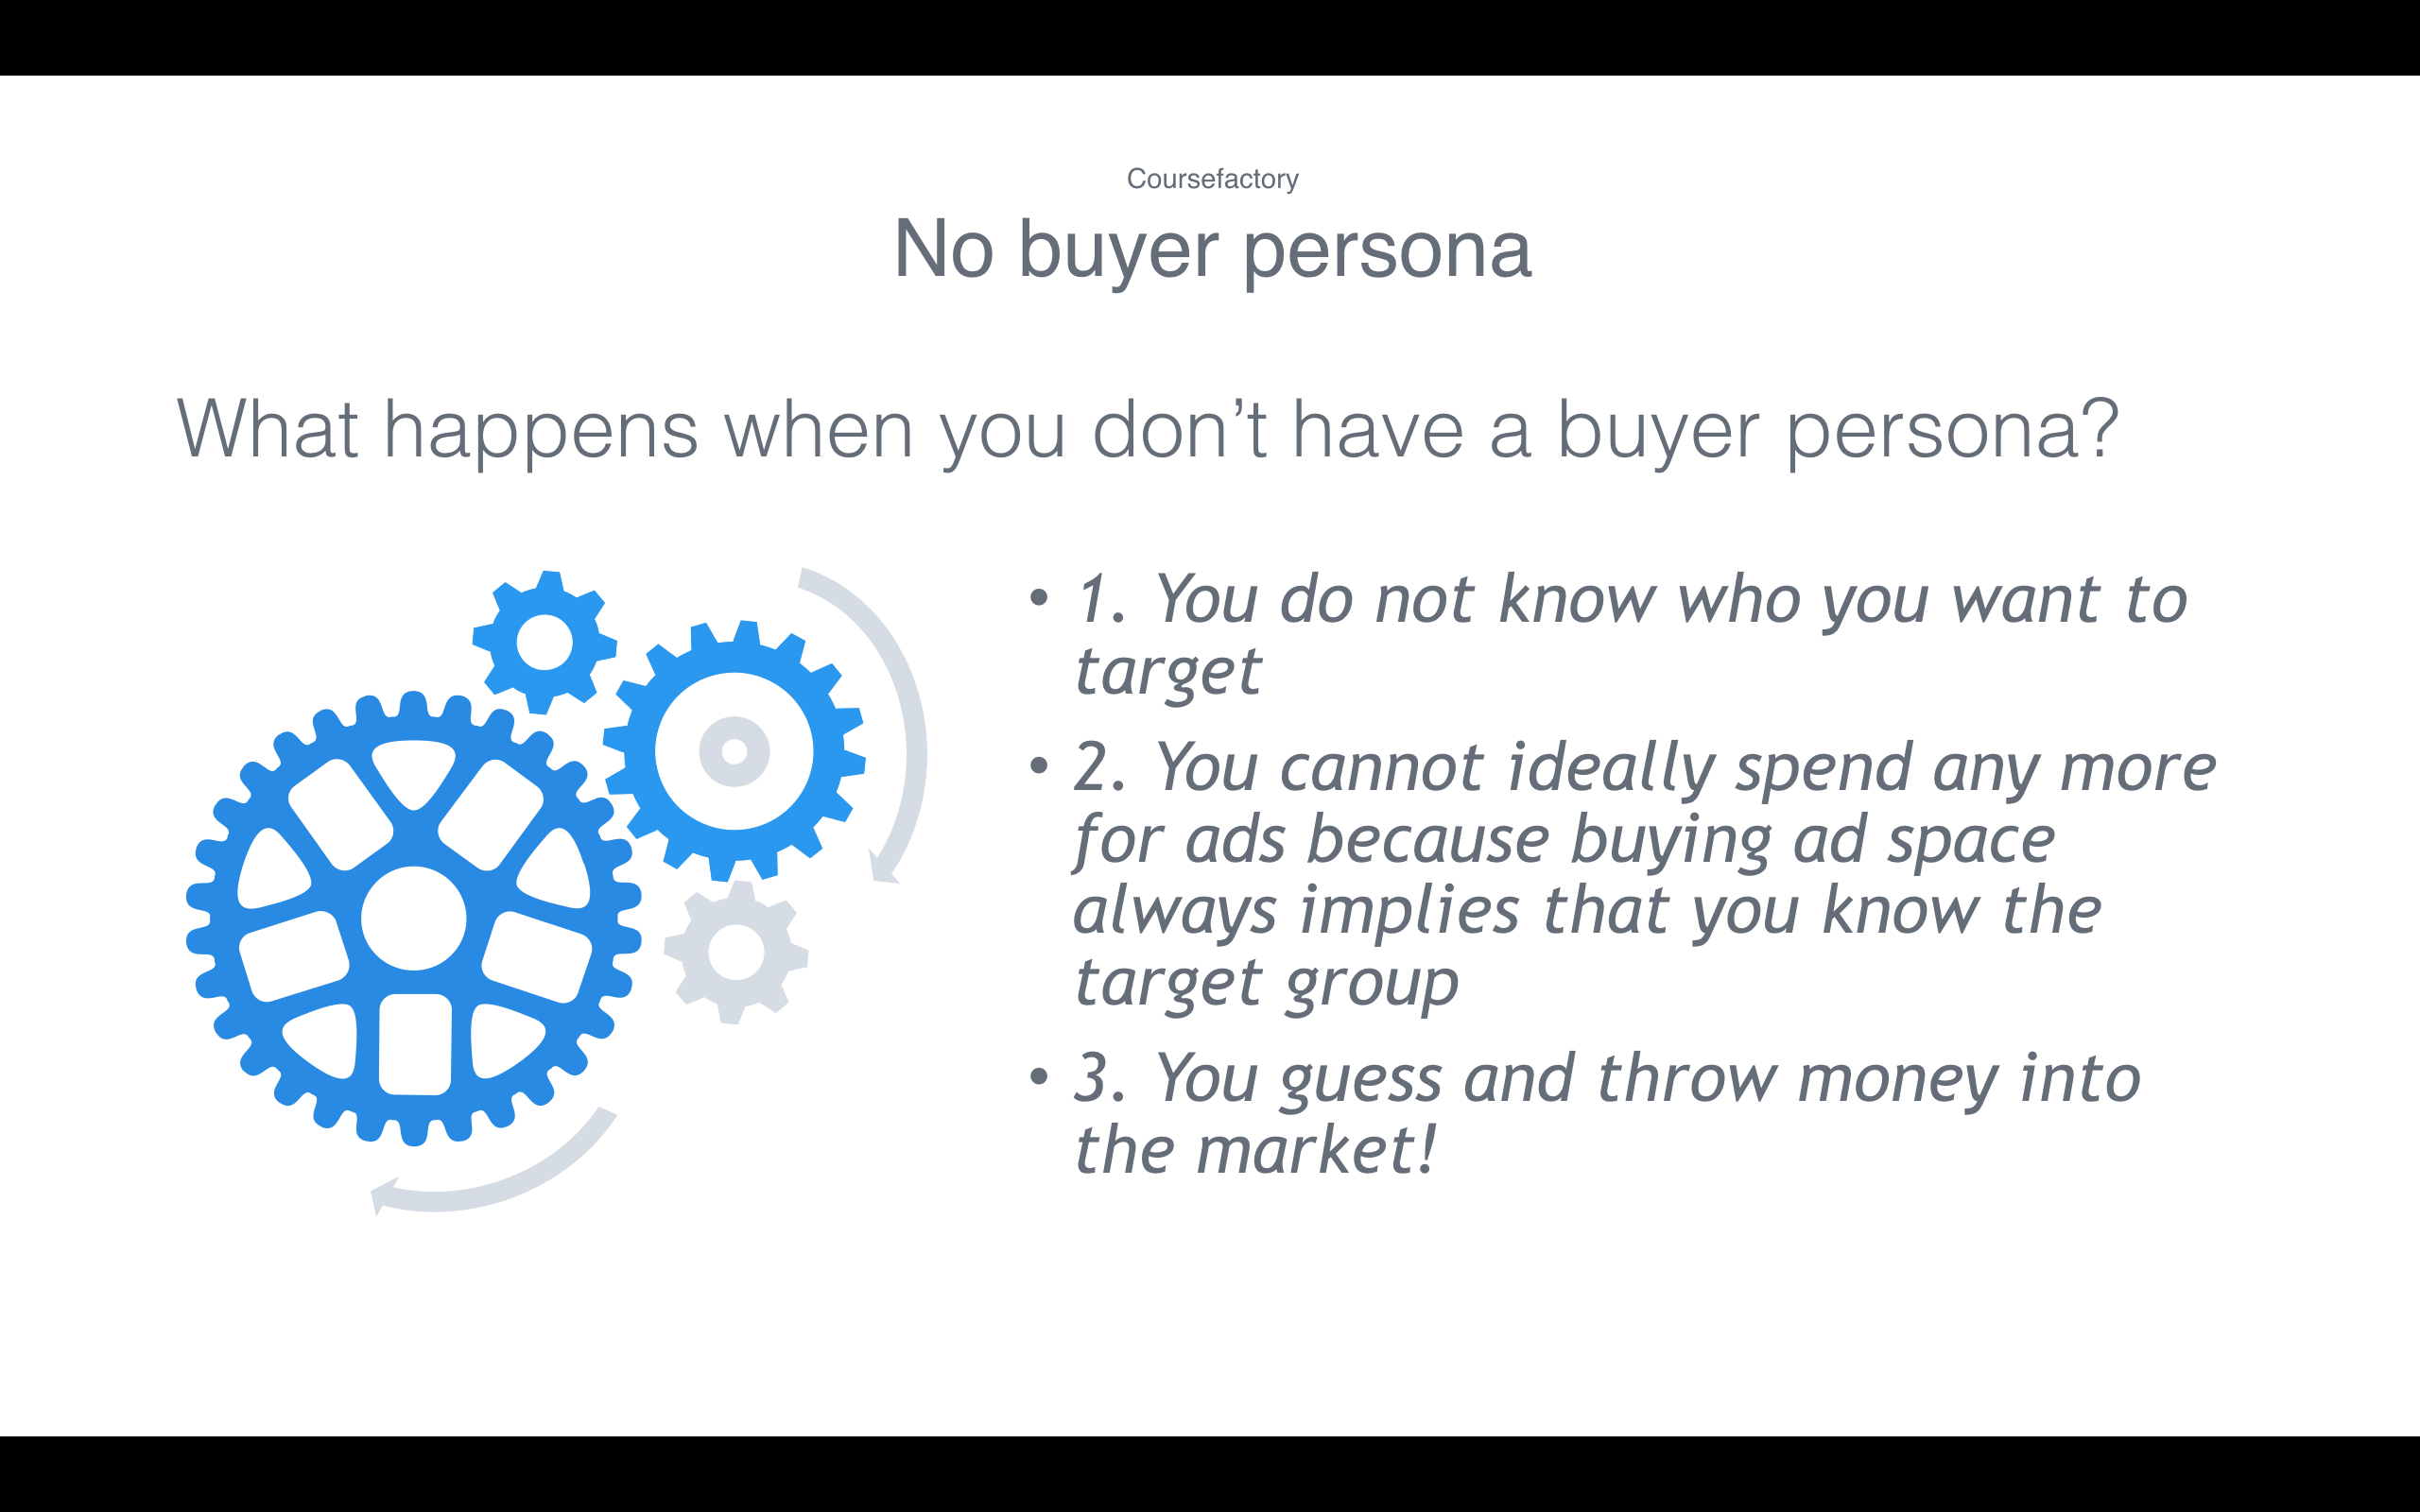
www.your-statistics.com/No-buyer-persona.png
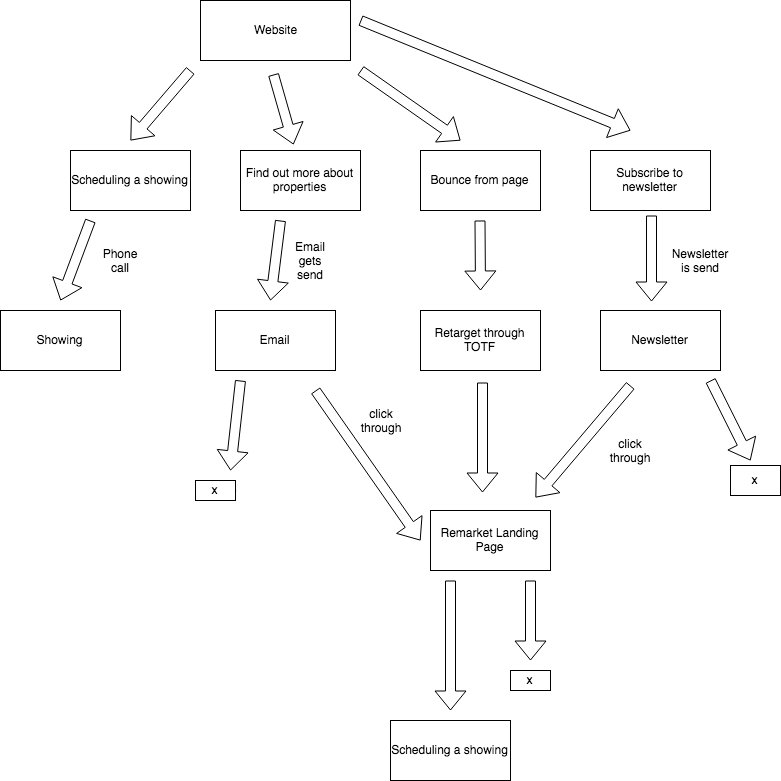
www.your-statistics.com/Real-Estate-Sales-Funnel.png
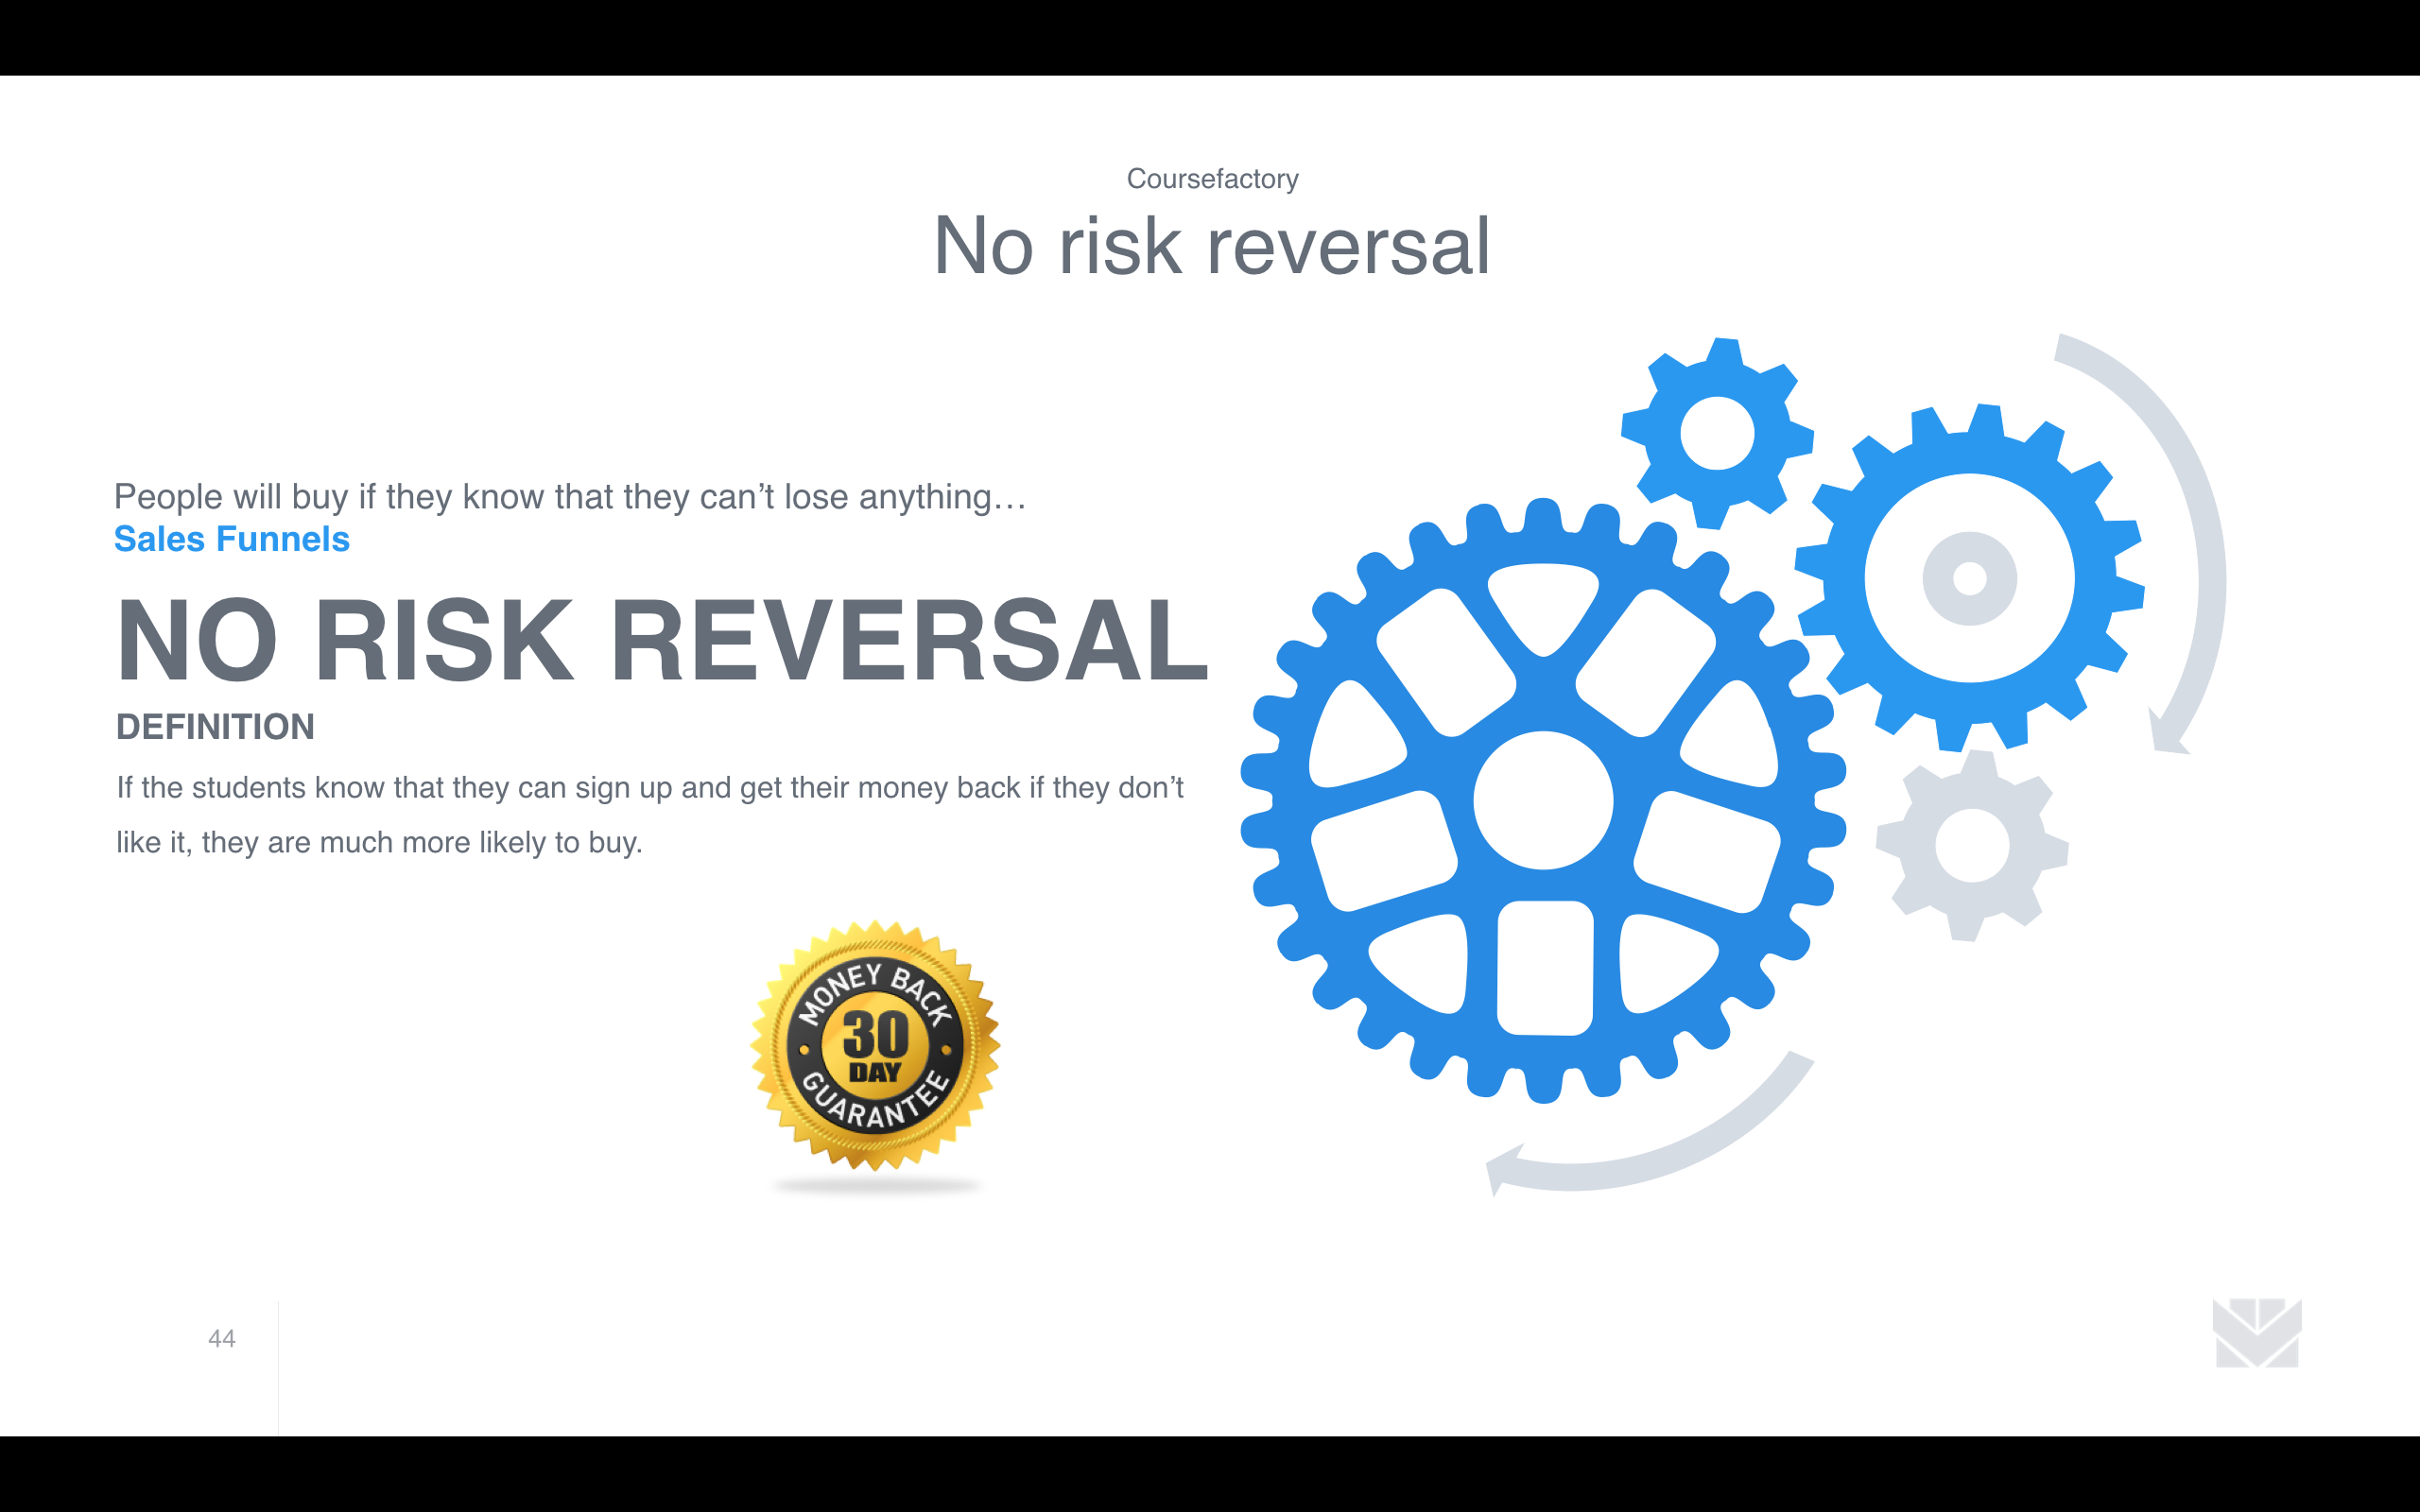
www.your-statistics.com/Risk-reversal.png
www.your-statistics.com/Simple-Sales-Funnel.png
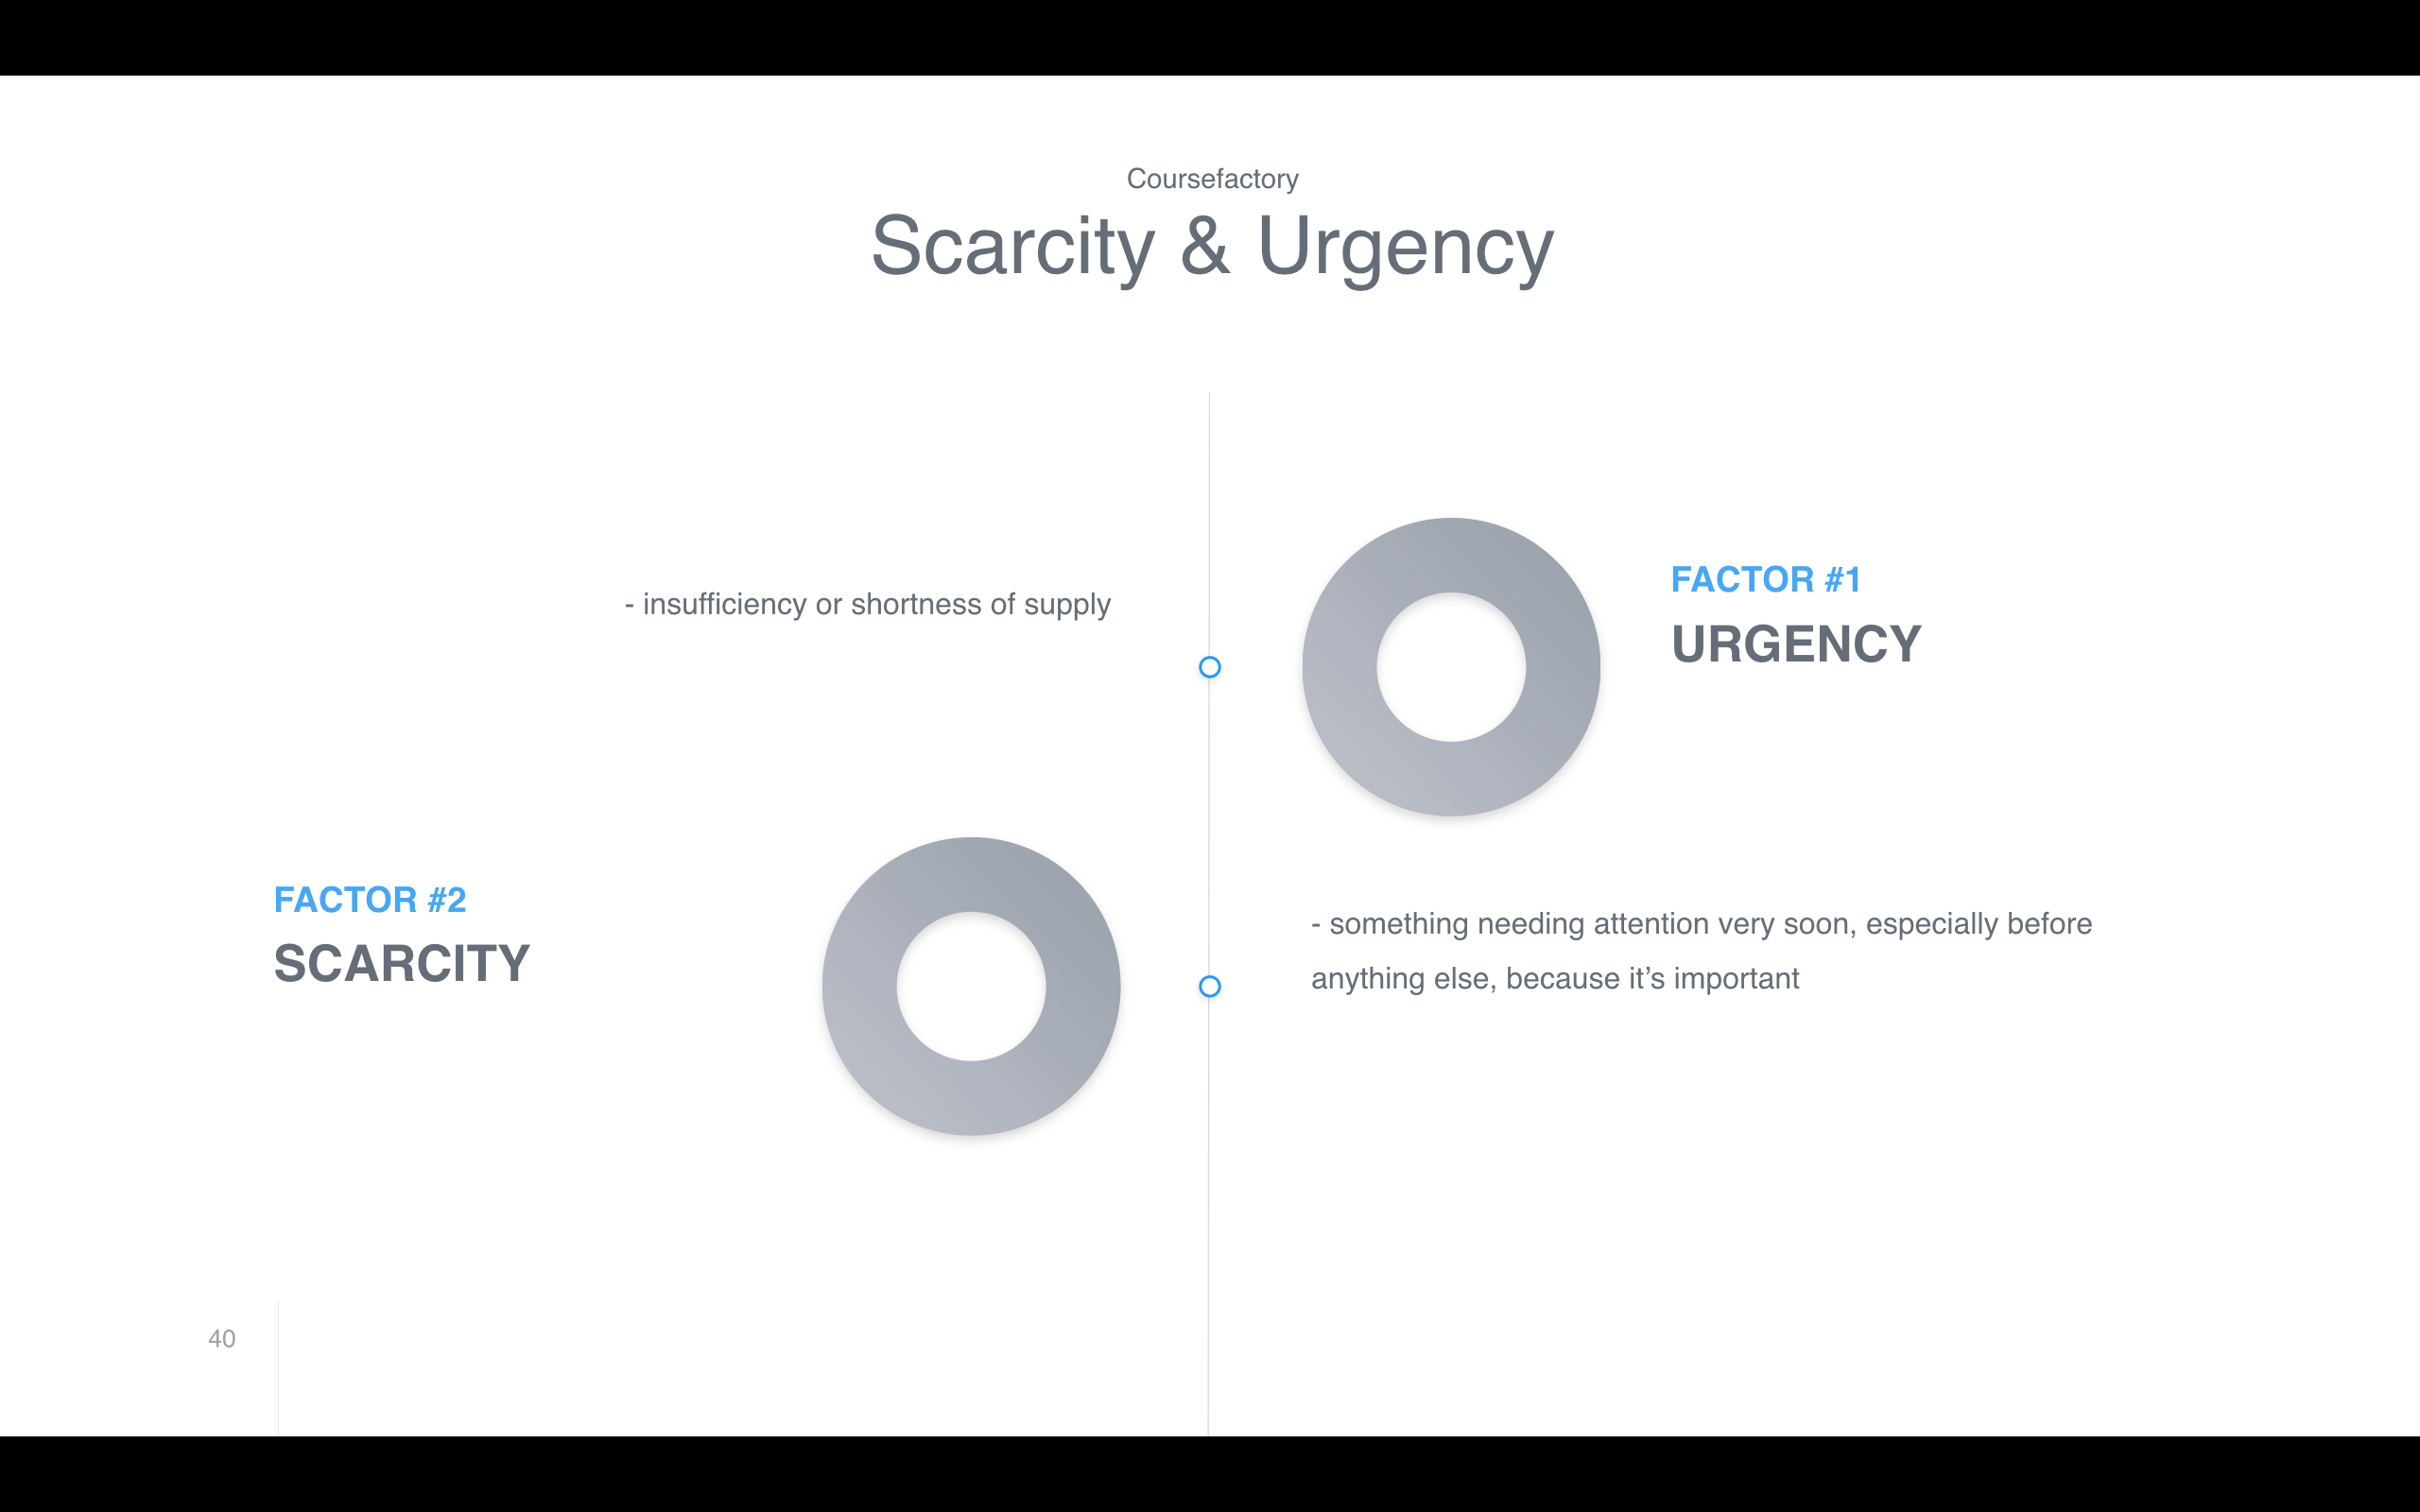
www.your-statistics.com/Urgency-scarcity.png
Good automated concept for affiliate marketing using youtube
https://www.youtube.com/watch?v=QjP3Ka08eT8
https://www.jesusp.com/using-wordpress-to-create-a-killer-sales-funnel/
https://www.goldenoakwebdesign.com/blog/how-to-create-a-sales-funnel-with-wordpress-contact-form-7-and-mailchimp
1 Ad title
2 Click bait
3 pop up
4 subscription
5 sales page
6 video
7 up sell confirmation page
https://www.tipsandtricks-hq.com/ecommerce/automatically-return-customers-from-paypal-to-your-thank-you-page-3082
8 abandoned auto responder

Tut links below
Tasks to complete

Link Back gift ebook
LB gift tool
LB gift checklist
LB gift course
LB gift list
LB gift document
LB gift poll results
Lb from fb group
Lb web/splash/blog popup
Lb from ebook or gift
Lb from youtube caption
Lb from social media posts to page maybe top 10


CONNECTING YOUR SITE TO MAILCHIMP
The Connected Sites page in your account is where you'll access and manage the sites and platforms that share data with your Mailchimp account.
To access the Connected Sites page, follow these steps.
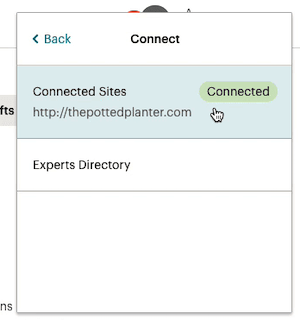
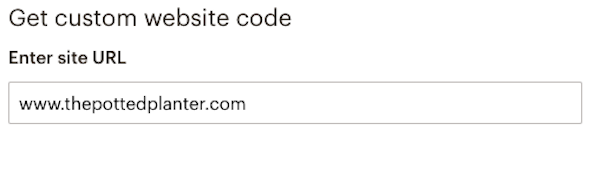
On that page, you'll be able to connect a supported e-commerce store, generate custom code to add to your website builder, or manually connect your website to Mailchimp.
If you've previously connected a site, click Add
another site to view the full list of supported
integrations.
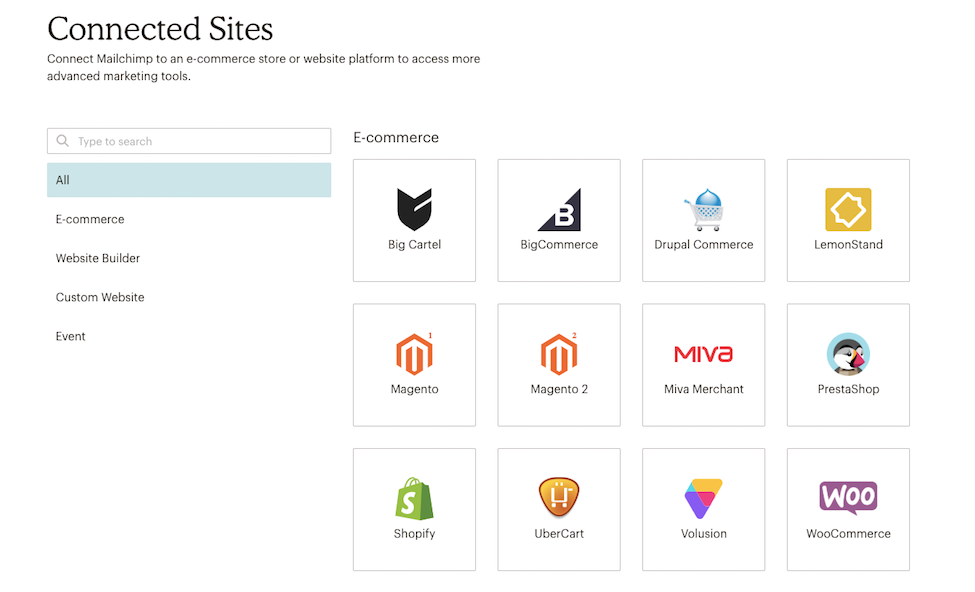
Each time you connect a supported e-commerce store to Mailchimp, we'll walk you through the process. The steps you take to connect will vary depending on the type of store you have.
Check out one of these articles to learn how.
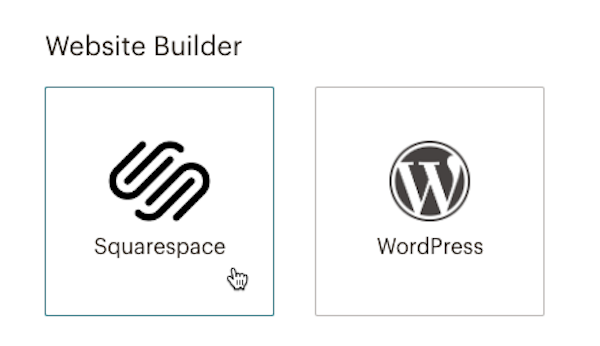
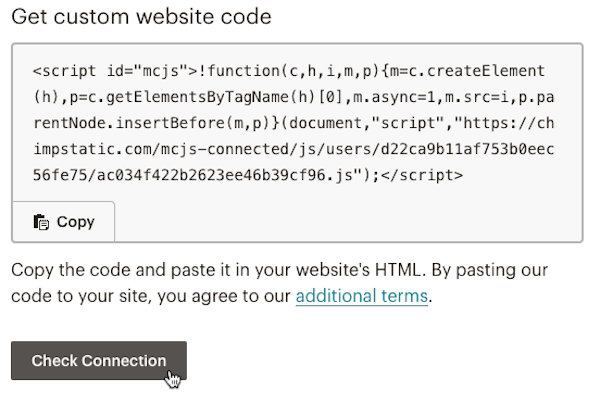
If you use Squarespace or WordPress, add our code to your website to connect it to Mailchimp. This method allows you to add a pop-up form to your site and use Google remarketing ads, but doesn’t support our e-commerce tools.
The best place to add our code varies from site to site. If you’re not sure where to modify your site’s HTML, reach out to your developer or hire a Mailchimp expert.
If you have a Squarespace Website Business plan or higher, you can connect your website builder to Mailchimp.
To connect your Squarespace site, follow these steps.


After we verify your connection, you'll see a confirmation message and be redirected to the details page for your site.
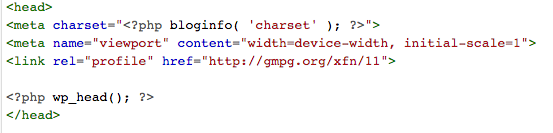
If you use WordPress.org you can connect your website to Mailchimp. This is an advanced feature recommended for users familiar with editing WordPress themes. You cannot connect a Wordpress.com website since they do not allow you to customize HTML markup or PHP code.
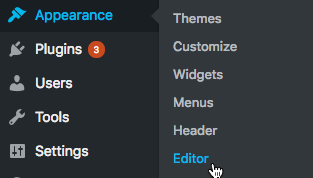
To connect your WordPress site, follow these steps.


After we verify your connection, you'll see a confirmation message and be redirected to the details page for your site.
ABANDONED CART
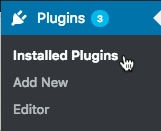
To download the plugin, follow these steps.
Before you install Mailchimp for WooCommerce, make sure you've already installed and activated the WooCommerce plugin for WordPress.
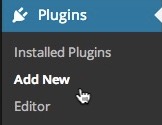
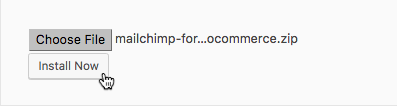
To install the Mailchimp for WooCommerce plugin, follow these steps.

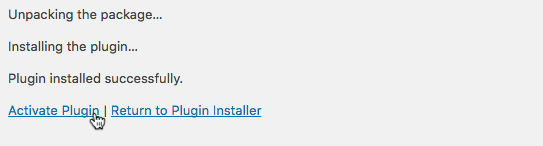
After you activate the plugin, you'll be redirected to its Settings page, where you will enter your Mailchimp credentials and configure your audience settings.
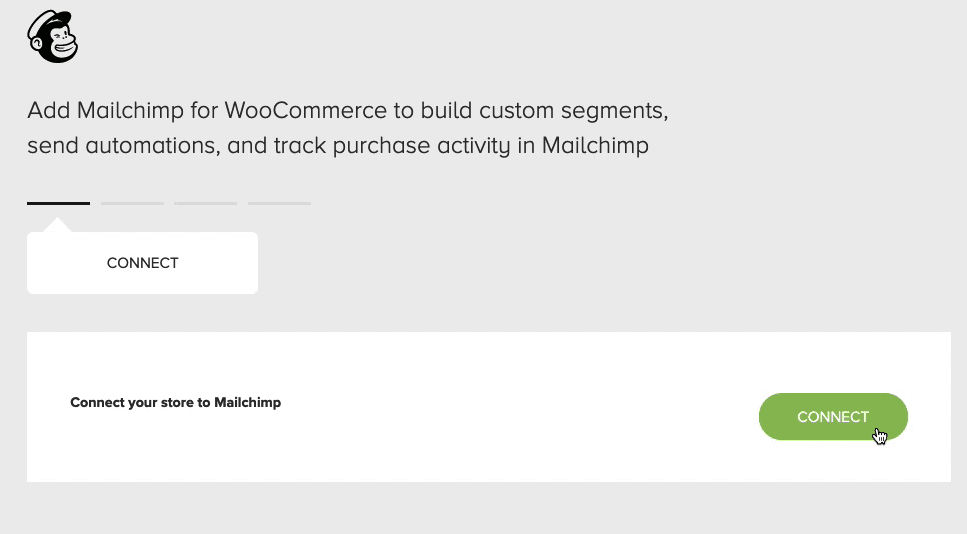
You've installed and activated your plugin, now you're ready to complete the second half of the setup process. As you move through each step, new tabs will appear with different configuration options.
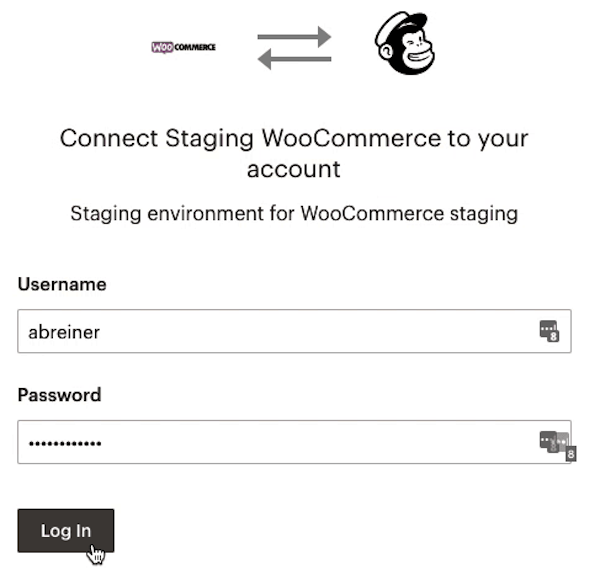
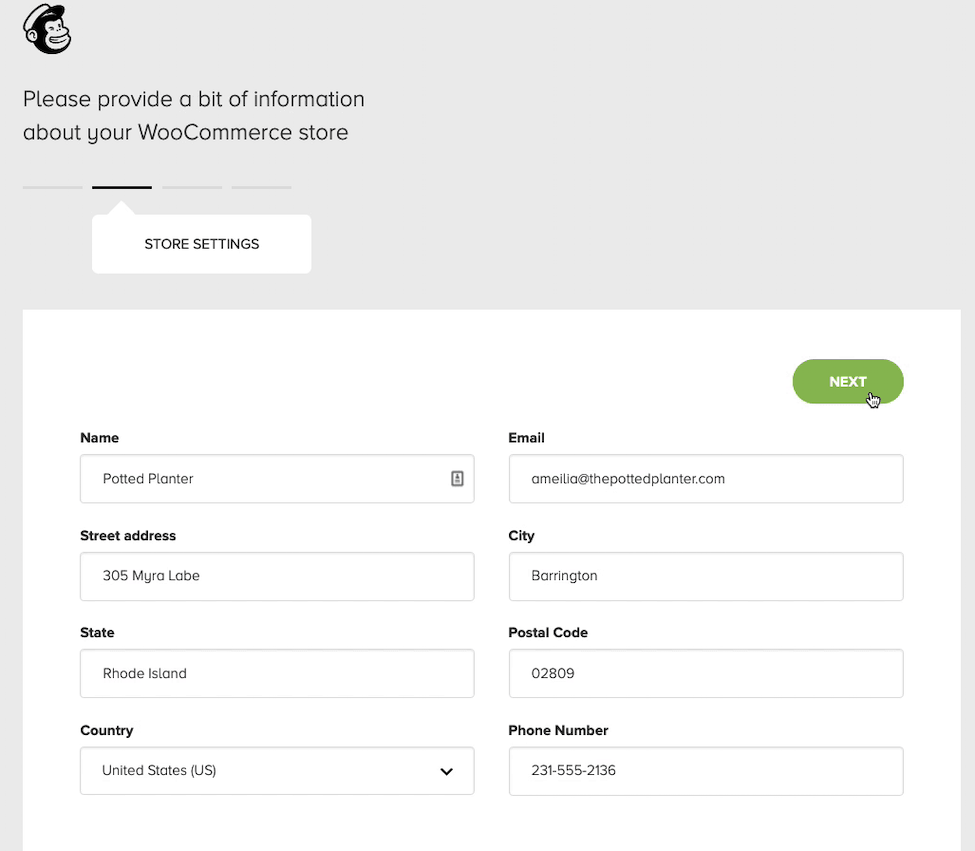
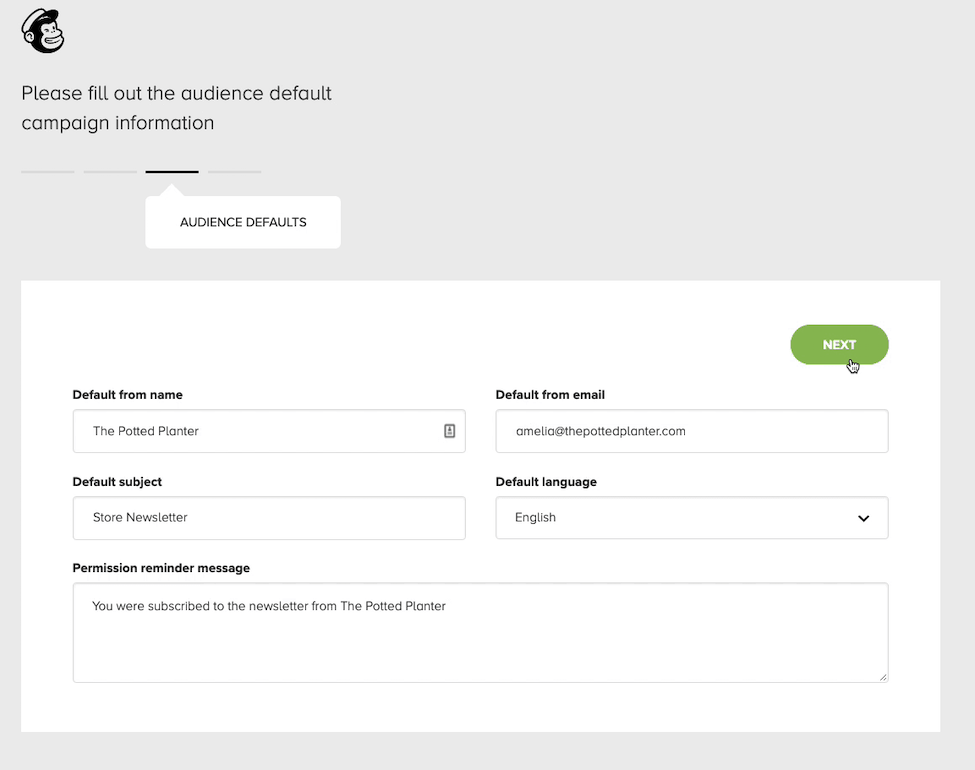
To connect your WooCommerce store to a Mailchimp audience and configure your settings, follow these steps.
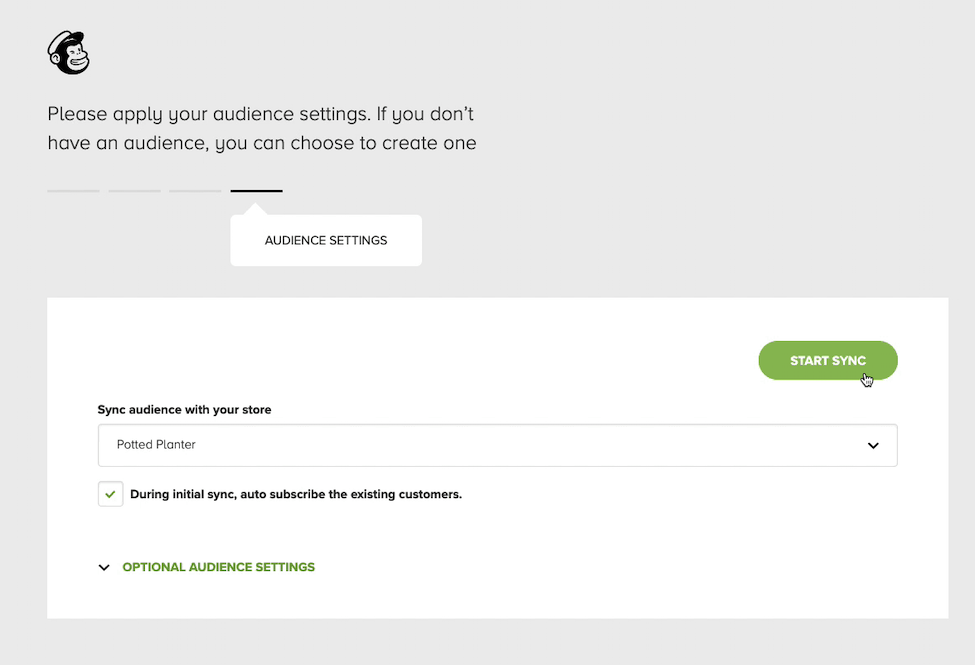
All set! We'll start syncing your WooCommerce customers to Mailchimp. The time it takes to sync will depend on your store data. To view our progress, check the Overview tab.

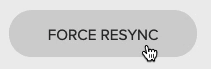
If you have issues with your connection, you can resync your audience without losing any e-commerce data. To resync your audience, click the Force Resync button.
After you connect Mailchimp for WooCommerce, you can visit the Connected Sites page in your account to view the details for your WooCommerce store. You'll be able to see the status of the integration or add and manage e-commerce features.
After the sync is complete, you'll have access to all of Mailchimp's powerful e-commerce features.
For example, you can:
Find out everything Mailchimp has to offer in our article, Sell More Stuff with Mailchimp.
For the latest features and best performance, make sure to use the most up-to-date version of Mailchimp for WooCommerce.
To update Mailchimp for WooCommerce, follow these steps.


Great job! Now you have the latest version of Mailchimp for WooCommerce..
If you have problems with your store connection, you may want to deactivate and delete Mailchimp for WooCommerce, then re-install it.
To delete and re-install Mailchimp for WooCommerce, follow these steps.
After you re-install the plugin, all of your e-commerce data will be re-added to your Mailchimp
Now watch video to see how to set up the message in
mailchimp https://youtu.be/0W9zx8eKuKg
When customers leave items in their shopping cart, encourage them to complete their purchase with a custom email that includes product links or special offers.
In this article, you'll learn how to create an abandoned cart email.
Here are some things to know before you begin this process.
Note
Mailchimp for Magento version 1.0.6 supports the abandoned cart email. If you are using an older version of Mailchimp for Magento, you will need to update to version 1.0.6 or later to use the abandoned cart email.

Now you're ready to view your recipients, delay time, and other settings.
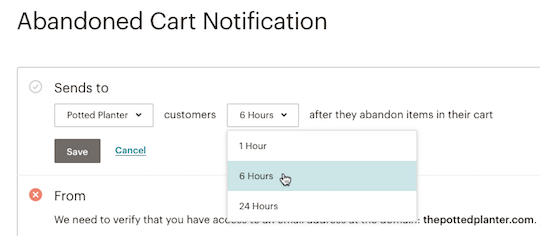
We'll display a checklist with your abandoned cart email settings. Review the checklist, and make any necessary changes to your automation, like From name, email address, subject line, and sending delay.
You can choose to send your abandoned cart email one hour, six hours or 24 hours after the customer leaves their cart. To change the sending delay for your abandoned cart email, follow these steps.

You'll design your abandoned cart email the same way you do in the Campaign Builder, or with other automations. These emails must include the customer's cart information we pull from your connected store. To include this information, choose an abandoned cart template or use any other drag-and-drop template along with the Cart content block.
Abandoned cart templates also include a logo placeholder, which is designed to automatically pull in your default brand logo. To learn more about this placeholder and how to use it, read Set a Default Logo.
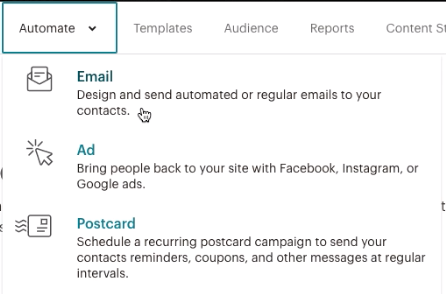
To design your email, follow these steps.

Here are abandoned cart set up videos
https://youtu.be/qTdIxAHAKnY
https://youtu.be/0W9zx8eKuKg
Please note when setting up your messages in a series. The 2nd email is sent to
the number of hours after the cart was abandoned not after the first message was
sent.


Step 1.
Watch the training videos below
EXAMPLES


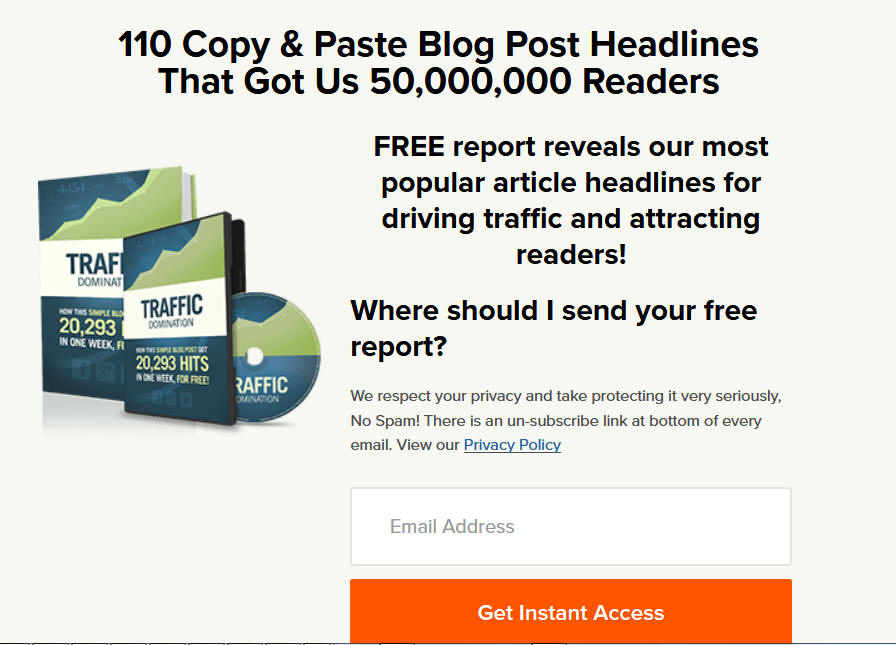
Pop up on a blog page


Link to page from facebook groups


Link from an email


